Apartment Vending Houston · Published October 11, 2026
Choose a visible indoor space residents already use, then review access hours, circulation, equipment dimensions, power, connectivity and delivery access. Confirm the assortment, stocking plan, resident support and agreement responsibilities before installation. A site review turns those details into a property-specific recommendation.
IN THIS GUIDE
1. Choose a place residents can comfortably use
Begin with the resident route. A main lobby, mailroom, clubhouse or game room can offer an everyday stopping point. The review considers whether residents regularly pass the space, how visible the amenity will be and whether the location preserves the room’s character.
Resident access hours are part of the decision. A cooler inside a locked clubhouse follows that clubhouse’s rules. If late-evening convenience is a goal, choose a space your management team can make accessible under the community’s established policies.
For a Downtown or Uptown/Galleria high-rise, note elevator reservations, door widths and delivery arrangements. For a multi-building property in Bellaire, Missouri City or Friendswood, consider which shared space provides a useful route for residents across the community. Local context helps frame the review; the actual building determines the plan.
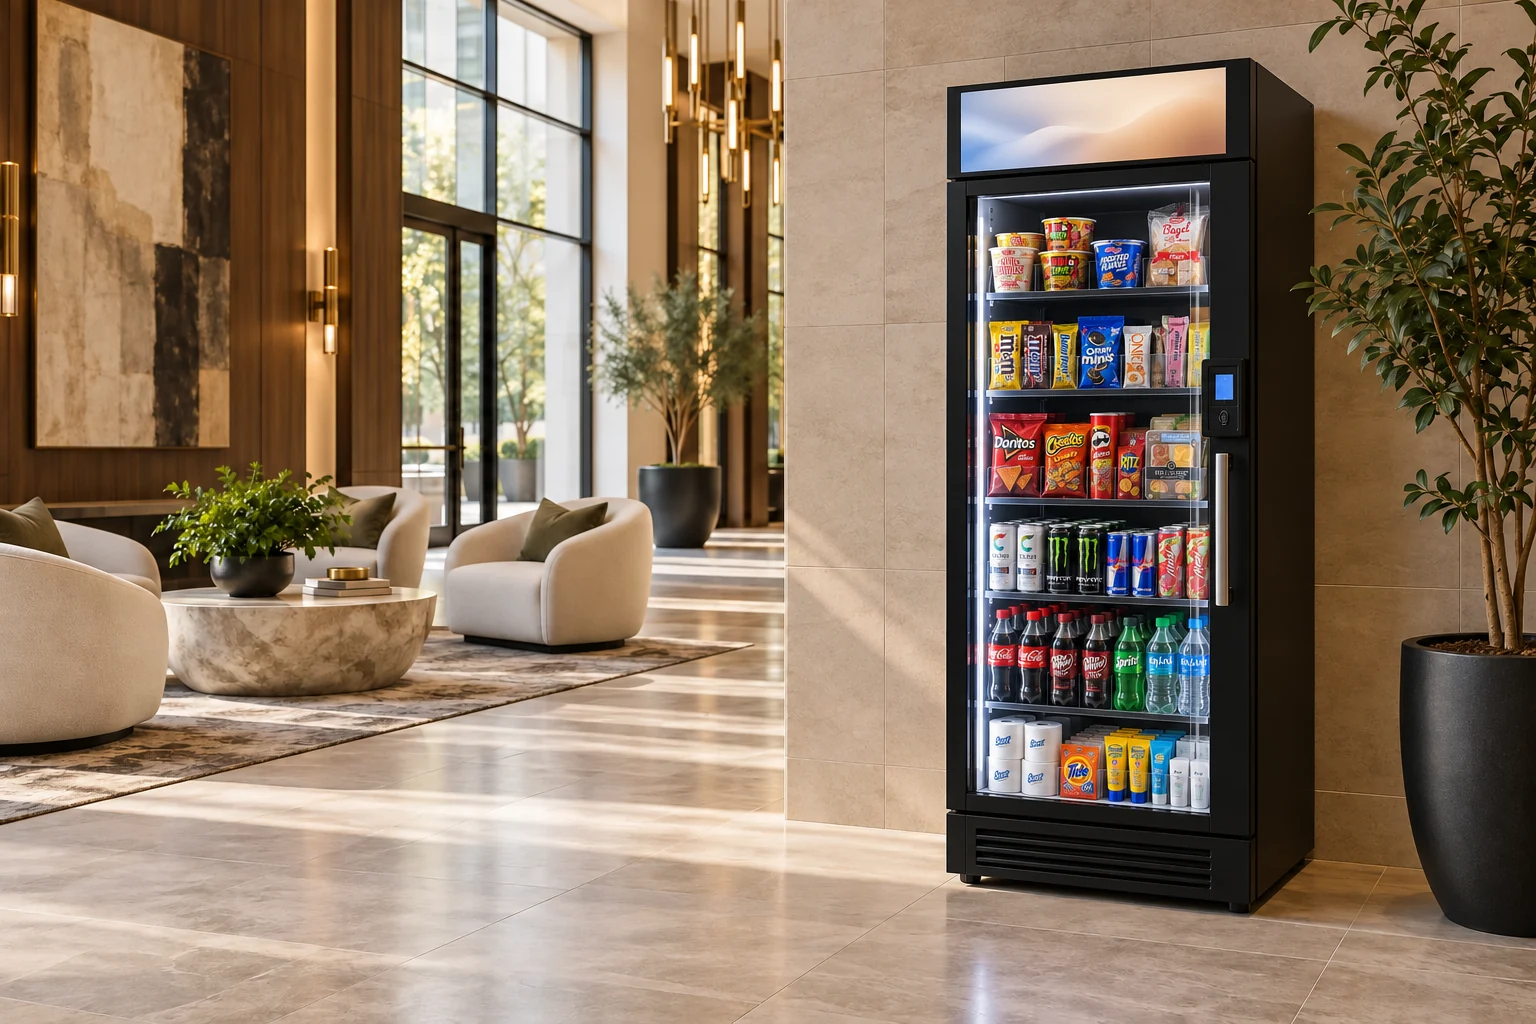
Keep an accessible route around the equipment, room for the doors to open and a workable stocking position. Discuss lighting, entry rules and the resident path with management. Explore community spaces for placement ideas.
2. Confirm the equipment, power and connectivity
There is no universal footprint or outlet requirement for every smart cooler. A single cooler, double cooler, smart freezer and discreet low-profile model have different dimensions and operating requirements. Select the equipment before approving electrical or cabinetry work.
| Detail | Helpful information |
|---|---|
| Potential space | Photos, approximate width and depth, nearby doors and furniture. |
| Power | Location of available outlets and any information management has about the circuit. |
| Connectivity | Available connection, access restrictions and who manages the property network. |
| Delivery route | Door widths, elevator rules, stairs, loading access and installation windows. |
| Resident access | Room hours, entry permissions, lighting and circulation. |
| Service entry | Operator access procedure, parking and an on-site contact. |
Do not assume a nearby outlet or guest Wi-Fi is sufficient. The selected equipment’s electrical requirements and an appropriate connection are confirmed during review. Network restrictions, including sign-in portals, should be identified early so an agreed connection can be planned.
These are indoor amenity options. A pool-adjacent indoor room may be considered; an exposed pool deck or unsheltered area should not be assumed suitable. Optional finishes and millwork are also agreed separately. Review the available smart-cooler formats.
3. Match the products to residents and storage
Plan refreshments and practical necessities together. Potential products include packaged food, water and other drinks, sealed laundry detergent packs, wrapped toilet-paper rolls, sunscreen and travel toiletries. The final mix depends on availability, resident demand and suitable storage.
Chilled, frozen and ambient goods need appropriate equipment or compartments. A compact item is not automatically suitable for refrigerated storage. Check the approved product mix and storage arrangement before launch, and keep household or personal-care products appropriately contained alongside food.
Remote monitoring, purchases and feedback help guide stocking and assortment changes. Restocking is scheduled at least weekly; specific product availability can vary between visits. Your property team should know the service contact, while residents have a direct route for purchase questions. See the resident support page.
4. Agree on responsibilities before launch
- Approve the model, location, site conditions and any preparation.
- Confirm power, the connection and delivery access.
- Document operator entry and the property point of contact.
- Agree on the initial assortment and suitable storage.
- Review stocking, equipment service and purchase support.
- Confirm revenue-share eligibility, calculations and payment terms.
- Coordinate resident communication and amenity access rules.
- Check any existing provider agreement before a replacement.
The written agreement defines the arrangement. A review request does not approve a property or reserve an installation date. See how setup and service work and the cost and revenue-share guide before approval.
Give residents a clear reason to use it
Introduce the amenity around familiar moments: a drink after the gym, detergent before laundry, sunscreen before the pool or a small necessity when an extra store trip is inconvenient. Highlight the option to stay within the community after dark or in bad weather, subject to stocked products and room access.
Tell residents where it is, when they can access it, how purchasing works on that equipment and where to request help. Clear communication makes a well-placed amenity easier to discover and use.
What should you send first?
Your property name, address, approximate unit count and possible location are enough to start. Photos, dimensions and access details help, but a finished layout is not required. Include the decision-makers and any timing considerations so the next conversation can be productive.
Turn the details into a plan for your property.
Share your community, approximate unit count and potential location. A site review helps you understand fit, responsibilities and the next step.
Book a Site Review